
featured
Home Decor Tips
New Year New Room
New Year New Room: 5 Simple Rules to Hanging Art
January 26, 2016
This site may contain affiliate links that I make a small poriton off of, as well as sidebar ads that may generate a small income for Domicile 37
Happy Tuesday! I hope you are warm during this winter weather. Over here in NC we had some snow, not as much as my friends in upper East Coast, but we had a huge hill and some ice to go sledding on. Although I am not an outside type of chick, I had fun watching my kids indulge in the snow and the sound of their laughter made my day. It was a perfect, winter family day. Aside from that I spent some time hanging up art for the New Year New Room Refresh Challenge.

Due to the winter storm, a chunk of the items that I ordered have not made it in, so unfortunately, I will not be sharing a full blown room reveal until everything is in. Instead, I will be sharing 5 simple rules to hanging art. As a former designer turned SAHM turned home decor blogger, this is the number ONE question, I get asked the most.

Here are my 5 Simple Rules to Hanging Art:
1. Eye level- Hanging art depending on your eye level can be different for different individuals depending on their height, but the average height ON CENTER to hang your art is APPROXIMATELY 60". This is a good guide to follow when you are not exactly sure how high to hang your art. What exactly is "on center?" Basically, "on center" means the center of the art.


A- Measure distance from center of art to wire to determine how high to hang nail.
2. Use proper hardware- The weight of the object will determine what hardware you should use. Traditional wall hanging hardware works great on lightweight picture frames. One of my favorite types of hardware to use on large pieces and pieces that are heavy are monkey hooks. You can always find the weight of a art piece by weighting it. Knowing the weight of the piece you plan on hanging will come in handy when your out looking for the proper hardware. Typically the weight allowance for the screw is noted on the package.
3. The 2" Rule- When hanging multiple large art keep the the space in-between them to 2". By doing so, it prevents the space from looking crowded. Smaller art, space it 1-1.5" apart.
4. Get Help- Remember if it is too heavy for you to hold, you may need help. OR...If you are creating a gallery or salon style arrangement an extra set of eyes may be better than one.
5. If hanging art above furniture, the bottom of the frame should be 5-10" above the piece of furniture so that your eye flows from one piece to another and their aren't any disconnection.
Honestly, there is no STYLISTIC right way to hang photos, just some useful guidelines...I will not lie I can normally spot when art is hung off of my comfort level, but please remember, it is your home and if it looks right to you then it probably is. Stick to your gut and your style when decorating your home. I am often asked about hanging art a lot when it comes to design and home decor tips, but one thing I always end with is the saying "Do you and do you proud" --- This is a saying I remind myself when I do things in my home. As much as I may guide you, essentially it is your home and your place of comfort. I hope these 5 Simple Rules to Hanging Art help are of some assistance to you. In the meanwhile, here is a little sneak peek of one part of my dining room....Awww, I am loving the ART!


This was suppose to be the week of the BIG reveals, but due to the storm we decided to split the reveals into two weeks. Please visit the other gals to see some of their New Year New Room Refresh Reveals and Home decor tips.
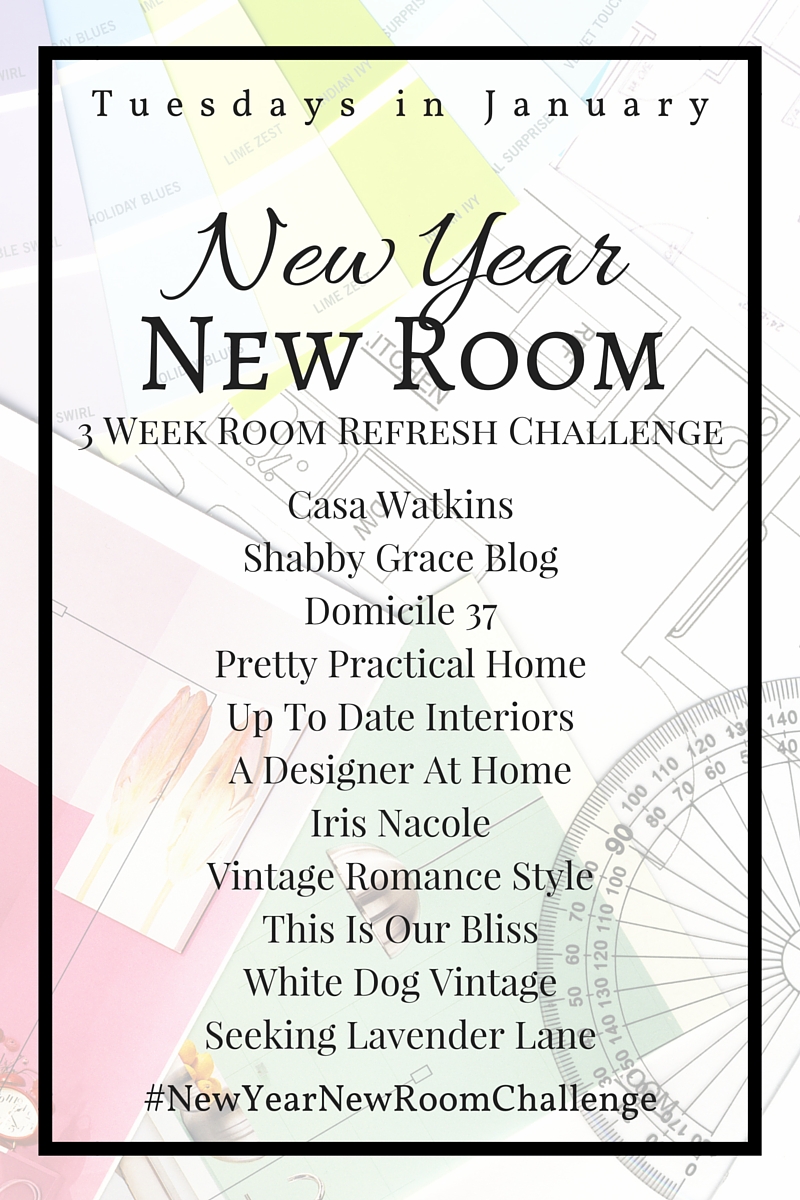
New Year, New Room Refresh Challenge Participants:


12 comments
I'm loving these tips, and can't wait to see your reveal next week!! :)
ReplyDeleteThanks, my rug and chairs came in this week and I am so excited to share it!!!!
DeleteGreat tips!!!!! Is that a collage I see?! Can't wait to see your new room all together. Love your art pieces.
ReplyDeleteWhy, yes it is! I think the collage is one of my favorite pieces in the space. Next week....so pumped.
DeleteAwesome post Jess! This is a biggie for me. Nothing gets more me more than art hung too high or a small piece of art on a HUGE wall.... sharing!!! Looking forward to that reveal!
ReplyDeleteGreat tips, Jess. I agree with all of them, especially the 2" spacing rule when it comes to hanging a multiple art items together. I look forward to seeing how your space turns out! I'm sure it'll be fabulous!
ReplyDeleteGirl, you have a real knack for explaining things in a simple, understandable way. These are fab tips! I was already really excited to see your reveal, but this sneaky peeky is quite the teaser. Can't wait!
ReplyDeleteReally good tips, I never plan things out like this and probably should.
ReplyDeleteYou're a genious! I love all of these professional tips you share. I've always eyeballed and ended up with a few holes. This however changes everything!
ReplyDeleteI am in need of your quick tip tutorial because me, well, I sort of grab a hammer and nail and go! i've been left with a few extra nail holes too many times to count! Love your great diagrams you've shared with us also! Can't wait for next week. EEEK!
ReplyDeleteFantastic tips and diagrams. Following these guidelines make such a big difference in a room!! Can't wait to see your reveal! xoxo
ReplyDeleteGreat tips! Looking forward to your room reveal!
ReplyDelete